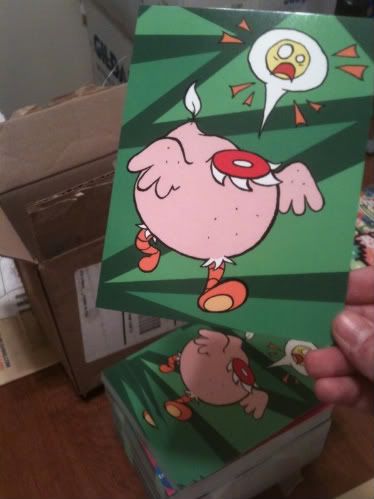
If you guessed the postcards, THAT IS CORRECT
Also: HIGH FIVE :D
So, rather than toss off another hit-and-run entry like Monday's batch of sleepwalking and fail, figured I'd make things up to you by doing here what I didn't do last time: walk you through how I made the darn thing.
Everybody ready?
TOO LATE HERE IT COMES
---
STEP ONE
NOTE: this assumes you have already
(1) drawn the headless chicken postcard art in question, which involves a Bic-clicker pencil and a very thin piece of dead tree,
(2) gone over the pencil lines with a .005 Micron pen, and
(3) scanned the end result into the magical
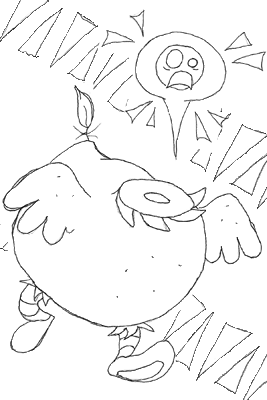
Boy-oh-boy! Here's your brand new baby, all wide-eyed and excited and... looking kinda hangdoggy, to be honest. Blechh. Look at those mistake lines where your hand shook tracing with the pen! Those untrimmed borders hanging off the lines! The weird angle that word balloon's got, compared to where Nugget's neck is supposed to be! And those triangles you pasted into the background from a different scan... those aren't working like you thought they would in your head.
Not a bad start, but this thing needs some work done if it's gonna face the Printshop Crew in the final round, 'cause believe me, kid, that team plays hard.
Enter Photoshop CS and its Erase tool!
---
STEP TWO
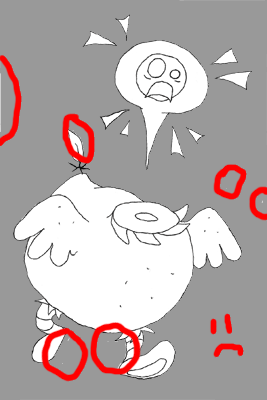
After a thorough go-over with Erase, some doctoring to the pen line oopses, and a quick Rotate to fix the word balloon angle, we make a new solid-color layer to plop behind the original. This way, you can see which parts of the background (ie, the paper that was originally drawn on) didn't get erased from the part of the scan we want to keep as the image. See the flecky bits in the circles? Almost got 'em all. Time to erase 'em for good. Kids, cover your eyes. I don't want you crying about this later.
---
STEP THREE
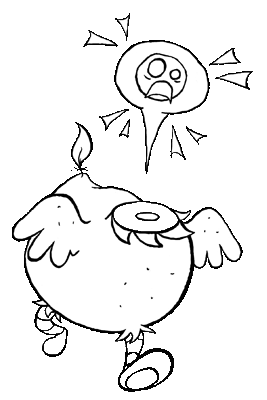
Now comes the tricky part. Remember all those pen lines? The ones that were the exact same thickness for the entire drawing?
Well, grab your Wacom tablet and pen-shaped stylus, 'cause it's time to go over the whole thing again-- only this time, we're adding line weights. No more scrawny, nine-pound-weakling lines on THIS sucker! Now it's gonna look like it can stand up to a heavy breeze.
---
STEP FOUR
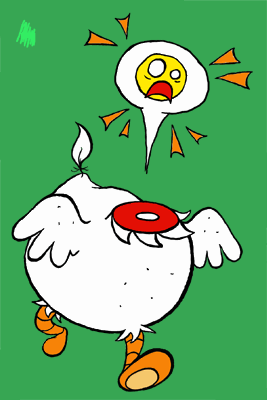
The Paintbucket tool's a wondrous thing. One click, and the whole area you're working with-- bam! Colored.
...Or so you'd think. There's a lot of zooming in to make the picture huge, gaping in disgust at all the tiny pixel bits that don't get filled in 'cause they aren't exactly the same color as the pixels you Paintbucketed, and frantically smoothing over those edge bits with the Pencil tool set at 1 pixel. [PROTIP: difficulty of this step may vary, depending on how unforgiving any OCD reflexes you might have are being today.]
The color squiggle in the corner is for our next step...
---
STEP THE FIFTH
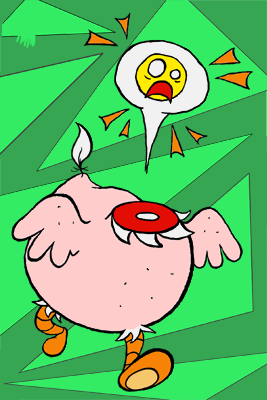
Adding those background triangles! On their own new layer, of course. Don't want all that work you did on Nugget messed with, right?
Oh, and Nugget looked weird with feathers, so off that white color went. He's actually plucked, so if the Afterworld was ever in color instead of ashy greyscale, this is what he'd look like. No foolin'.
---
SIXTH STEP
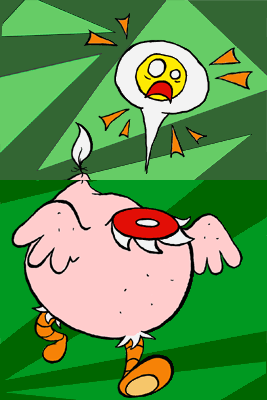
Buckle yourself in, 'cause here comes about fifty versions of color swapping. "But that one looks too DARK! No, that one's too neon, it's drawing attention off of Nugget... Ew, not that green! That one's icky..."
Let's skip past the rest of this step, eh? It takes a while.
---
STEP SEVEN
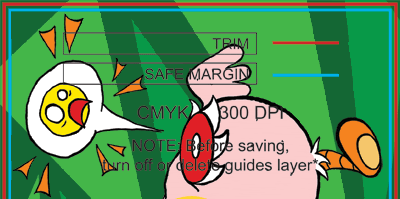
Oh yeah. Hahaha. Ahah. Heh.
Remember the print guidelines the place printing your postcards told you to follow? Would've been a good idea to make your original image THAT SIZE. Just a note to the folks out there like me who don't remember stuff like that. Makes things run a lot more smoothish in the eleventh hour.
Still, once that scrambling horror's done with:
---
EIGHTH STEP / FINISH LINE
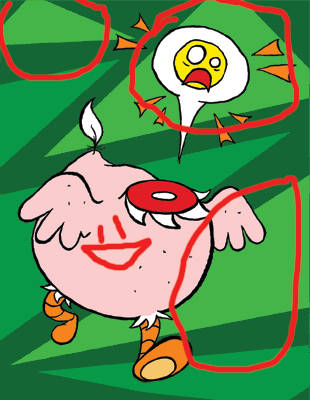
Colors've been picked, for the most part. Let's add a brighter green to these three triangles, though, shall we? Last-minute fix. Makes 'em pop out from the rest of the dark triangles.
There we go. Lookin' good there, sweet thing! ROWF.
Submit images. Pay printer. Bake for 13 days (or local ship times). Serves 250.
And... dig in.
No comments:
Post a Comment